Kate Donovan

The best-packed bag is not the fullest—it is the one prepared for the trip at hand.
At dusk, a forgotten headlamp can turn an easy walk back to camp into a risky scramble. Yet an overstuffed pack creates problems of its own: slower progress, poor balance, early fatigue, and less room for essentials.
Good packing starts with the route, forecast, terrain, trip length, and group experience. Safety equipment should be dependable and familiar, while comfort items must justify their weight. A sheltered overnight near a trailhead calls for different gear than an exposed ridge or remote multi-day hike. The aim is not to prepare for every imaginable emergency, but to cover realistic hazards with equipment that works—and can be carried comfortably for the full distance.
Build a trip-specific risk profile
Before choosing gear, consider both likely hazards and the consequences of delay. A busy trail near town needs less backup capacity than an exposed route where assistance may take hours.
Assess:
- Activity and duration: Estimate food, fuel, water, battery, and clothing needs, then add a modest delay margin.
- Season and forecast: Plan for temperature swings, precipitation, wind, and shorter daylight—not only the headline forecast.
- Terrain and elevation: Steep, rough, exposed, or high routes increase travel time and weather risk.
- Water access: Confirm reliable sources and carry treatment; dry routes require greater carrying capacity.
- Group size and remoteness: Shared equipment saves weight, but essential functions should not depend on one person or one device.
Requirements then change by trip style:
- Day hiking: Carry navigation, illumination, insulation, first aid, water, and a basic emergency shelter in case the return is delayed.
- Car camping: Vehicle access supports more water, warmer bedding, repair supplies, and comfort items, though hikes away from camp still need personal essentials.
- Backpacking: Every item must travel, so weight matters. Prioritize dependable shelter, sleep insulation, water treatment, extra food, and redundancy for navigation or fire-starting.
What deserves a place in the pack
-
Trip-ready performance
Fit should remain comfortable in motion, while weather protection suits likely conditions. Compare packed weight—not trail weight—and check whether controls work with cold or wet hands.
Look forSecure fit, realistic ratings, low packed weight, simple operation.AvoidPoor fit, optimistic ratings, fiddly controls. -
Reliability and system fit
Inspect seams, zippers, poles, and other failure points. Confirm that fuel, batteries, fittings, chargers, and pack dimensions match existing equipment; repairable designs, available spares, and genuine multi-use add value.
Look forRobust construction, compatible parts, field repairs, useful overlap.AvoidProprietary dead ends or versatility that weakens core performance.
Pitch the shelter, light the stove outdoors, treat water, adjust the pack, and locate headlamp controls in darkness. Repeat until each step is familiar, then inspect consumables and carry the small repair items the equipment actually needs. Test emergency electronics only through the manufacturer’s approved test mode.
Backpacks and footwear that fit the trip
Size and fit the pack
For day hikes, 15–30 liters often holds water, food, layers, and emergency gear. Overnight trips commonly require 30–50 liters, while bulky winter equipment or several days between resupplies may call for 50–70 liters or more. Capacity should match the actual kit rather than encourage unnecessary packing.
Correct torso length lets the hip belt carry most of the weight without forcing the shoulder straps to pinch. A proper backpack fitting for pain-free carrying should check belt placement, shoulder contact, and load-lifter angles with realistic weight inside.
Keep dense items close to the spine and around mid-back; lighter gear can sit farther out, with frequently used items in lid or hip-belt pockets. Panel openings improve access, while simpler top-loading packs often reduce zippers and potential leak points. Because few packs are fully waterproof, a pack liner offers dependable protection; a rain cover adds external shielding but can snag or blow loose.
Match footwear to terrain
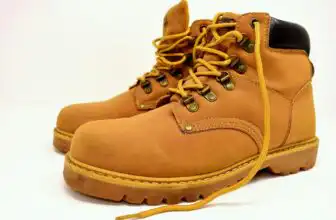
Trail shoes are lighter, flexible, and usually quicker to dry, making them practical for maintained trails and lighter loads. Boots provide a stiffer platform and may feel more secure on rocks, mud, or under a heavy pack, though ankle height alone does not guarantee support.
Prioritize outsole grip, heel hold, and enough toe room for swelling and downhill movement. Those needing extra forefoot space can compare boots shaped for wider feet rather than simply sizing up. Test footwear with hiking socks, a loaded pack, stairs, and an inclined surface; a brief walk around a shop rarely reveals heel lift, toe impact, or pressure points.
Shelter and sleep as one system
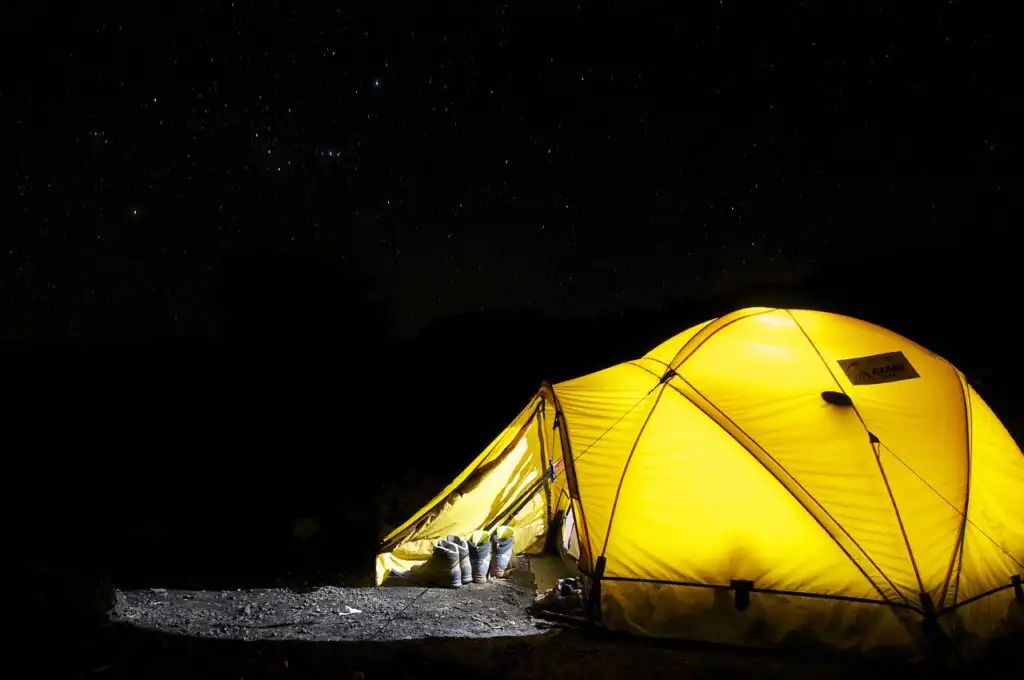
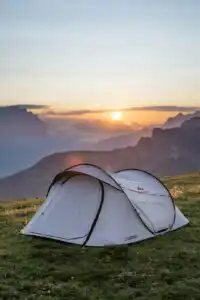
A tent performs only as well as its poles, fly, stakes, guylines, and pitch. For exposed camps, useful buying signals include a full-coverage rainfly, crossed or reinforced poles, multiple guy points, and a low wind-shedding profile. Stakes should suit the ground: thin hooks struggle in loose soil, while broad stakes grip better. A footprint should fit beneath the floor without protruding, where it could collect rain.
Packed weight matters, but so do packed length and setup complexity. A slightly heavier freestanding tent may be easier to pitch on hard ground than a lighter model requiring numerous precise stake placements.
Sleeping warmth comes from both the bag and the pad. Compare a sleeping bag’s comfort rating, rather than relying only on its lower-limit figure, and allow extra margin for cold sleepers or damp conditions. Pad R-value indicates insulation from the ground; dimensions, thickness, surface texture, and noise also affect rest. Side sleepers generally benefit from greater thickness and enough width to avoid slipping off.
Check that the inflated pad, sleeping bag, occupants, and essential gear fit inside without pressing against wet tent walls.
Set up the tent with its footprint, fly, stakes, and guylines, then inflate the pad and unpack the bag. This reveals missing parts, awkward pitching steps, valve leaks, tight clearances, and incompatible components while corrections are still easy.

Dress in layers for changing conditions
A reliable system begins with a moisture-wicking base layer made from synthetic fabric or merino wool; cotton dries slowly and can become chilling when wet. Add a fleece or light insulated midlayer for warmth, then a shell for wind and rain.
Waterproof ratings indicate how much water pressure a fabric withstands in laboratory testing. The guide to understanding 20,000 mm waterproof fabric explains why a high figure alone does not guarantee comfort in prolonged rain. Seam sealing blocks leakage through stitching, while a DWR finish helps water bead on the outer fabric but may wear down and need renewal.
Breathability also varies with humidity, exertion, and garment design. Pit zips, mesh-lined pockets, and adjustable cuffs can release heat more effectively than fabric specifications suggest.
Pack according to exposure:
- Spare socks help prevent blisters and restore warmth after crossings.
- A brimmed hat, sunglasses, and lightweight long sleeves provide sun protection.
- Gloves and a warm hat suit cold or high-elevation trips; insect-protective clothing is useful in warmer seasons.
Reserve a dry insulating layer for rest stops and camp. Store it in a waterproof liner or sealed dry bag, separate from damp clothing.
Pack backups—and a plan for using them
-
Carry two navigation methods
Pack a paper map and compass alongside offline maps or a GPS device. Protect electronics and carry enough battery capacity for the route.
-
Set the route and turnaround time
Leave the itinerary, vehicle location, check-in deadline, and emergency contacts with a reliable person. A firm turnaround time helps prevent late descents.
-
Keep light and signaling close
Carry a headlamp, spare batteries, whistle, and charged phone where they remain accessible after dark or during a fall.
-
Match first aid and medication to the group
Include supplies for likely injuries, essential personal medication in labeled packaging, and a modest delay buffer.
-
Prepare for an unplanned night
Carry an emergency bivy or shelter, insulation, and permitted fire-starting tools. Check local fire bans and never rely on a fire as the only source of warmth.
-
Practice before departure
Know how to navigate, treat common injuries, deploy shelter, and operate signaling equipment. Confirm permits, emergency numbers, and check-in procedures.
Beyond reliable mobile coverage, a satellite messenger or personal locator beacon is justified when isolation, solo travel, difficult terrain, or medical risk could make delayed rescue serious. A messenger supports two-way updates; a beacon primarily sends an emergency distress signal. Both require registration, testing, battery checks, and a clear view of the sky—and neither replaces a shared route plan or practiced judgment.
Water, food, and overlooked camp essentials
Carry enough water for the longest dry stretch, with a reserve for delays. Match the filter or purifier to local hazards, then add backup tablets in case freezing, clogging, or dead batteries defeat the primary treatment. Keep clean and untreated water in separate containers.
Favor calorie-dense, durable foods such as nuts, tortillas, bars, and dried meals, plus one extra ration. Overnight cooks should confirm stove, fuel, windscreen, pot, lid, and utensil compatibility and pack two ignition methods. Day hikers usually need ready-to-eat food, not cookware.
Overnight packs should also cover:
- wildlife-safe storage for food and scented items;
- sanitizer, toilet paper, menstrual supplies, and a site-appropriate waste method;
- patches or repair items matched to the shelter, pad, and stove;
- a multitool, cord, and headlamp for camp tasks.
Check local fire and food-storage requirements before departure. Required canisters, burn bans, and stove restrictions may change what belongs in the pack.
Run the checklist before departure
-
Recheck conditions and restrictions
Review the latest forecast, fire rules, permits, trail notices, water availability, and access closures. Adjust the checklist when conditions have changed.
-
Inspect and test every system
Check batteries, fuel, filters, zippers, buckles, footwear, lights, navigation tools, and repair supplies. Confirm that paired items—such as stoves and fuel canisters—work together.
-
Pitch the shelter completely
Set up the tent or tarp using the stakes, poles, guylines, and tools actually being packed. This reveals missing parts and refreshes setup skills before bad weather adds pressure.
-
Assign group gear, then load the packs
Name one carrier for each shared item and confirm who carries backups. Record each fully packed weight; remove unnecessary duplicates only after navigation, water treatment, first aid, shelter, and emergency needs are covered.
-
Take a practice walk
Walk with the intended load, ideally over uneven ground. Correct rubbing, shifting, poor balance, or inaccessible essentials, then save a master gear list and a shorter trip-specific departure check.
Consumables and shared equipment should be rechecked immediately before leaving.
A methodical shakedown catches missing parts, incompatible equipment, excess weight, and uncomfortable load placement while there is still time to fix them. Keep the master list reusable, but treat the departure check as specific to each route, season, and group.