Kate Donovan

A small, well-chosen toolkit will usually outperform a crowded case of rarely useful pieces.
A loose cabinet hinge, a picture that needs hanging, or a dripping tap quickly exposes the limits of the kitchen junk drawer. But the opposite extreme—a huge kit padded with duplicate bits and flimsy tools—often creates clutter without making repairs easier.
A better toolbox grows one real task at a time. Start with dependable tools that handle several jobs, then add specialist items only when a project requires them. A comfortable screwdriver, sturdy pliers, and an accurate tape measure earn their space repeatedly; an obscure socket used once may not. For beginners, versatility and decent construction matter far more than an impressive piece count.
What makes a tool worth bringing home
-
A clear job to do
A tool earns its place when it solves recurring household jobs or an immediate project need. Useful range matters more than extra features.
Look forTools suited to several likely repairsAvoidImpressive specifications with no practical use -
Comfort in the hand
Grip shape, balance, weight, and control affect both accuracy and fatigue. Whenever possible, handle the tool before buying.
Look forSecure grips and manageable weightAvoidAwkward controls or unnecessary bulk -
Dependable construction
Frequently used basics deserve durable midrange versions with solid joints, replaceable consumables, and readily available parts.
Look forSound construction and supported wear itemsAvoidFlimsy mechanisms and disposable designs -
A realistic place in the toolkit
Check case dimensions, battery platform, blade or bit standards, and accessory availability before committing.
Look forCompact storage and common standardsAvoidProprietary systems that create clutter
A tile saw, router, or large compressor can wait until a specific job demands it. Renting or borrowing first reveals whether the tool suits the work—and whether it deserves permanent storage space.
A small hand-tool core
A useful tool drawer does not need every plier or wrench variant. It needs a few comfortable, dependable tools whose jobs do not overlap too heavily.
- Multi-bit screwdriver: Handles common Phillips, slotted, Torx, and square-drive screws while saving space. Bits should seat firmly without wobbling, and the handle should remain comfortable under pressure.
- Adjustable wrench: Fits flat-sided nuts and bolts. It is not a substitute for pliers; well-aligned jaws grip fasteners more securely and are less likely to round corners.
- Tongue-and-groove and needle-nose pliers: Tongue-and-groove pliers grasp pipes and irregular fittings, while needle-nose pliers reach confined spaces and bend wire. Handles should open smoothly without pinching the palm.
- Tape measure: A compact model with a reliable lock suits furniture, shelves, and room measurements. Look for high-contrast numbers, clear fractional markings, and a hook that moves only slightly to account for inside and outside measurements.
- Utility knife: Useful for boxes, drywall paper, caulk, and sheet materials. The blade should lock positively, retract fully, and allow changes without fingers crossing the cutting edge.
- Claw hammer and small pry bar: The hammer handles nails and light pulling; the pry bar opens trim or crates with better control and less handle damage.
Before buying, check grip comfort, jaw alignment, control placement, and marking readability. These details matter more in regular use than polished finishes or oversized sets.
Measure first, install once
Crooked shelves and mismatched cuts usually begin with rushed layout, not poor fastening. A compact tape measure handles most sizing, while a combination square marks reliable 90-degree lines and transfers short dimensions. Add a medium-length spirit level for shelves, appliances, and frames; its longer reference is more trustworthy than a tiny pocket level.
For cleaner results:
- Take repeated measurements from one reference edge rather than chaining dimensions; small errors otherwise accumulate.
- Mark the waste side of a cut and keep the pencil point consistent with the chosen measurement.
- Use a story stick or cardboard template when several holes, brackets, or boards must match.
A laser becomes useful when the same horizontal or vertical line must remain visible across a room. Cabinet runs, wall paneling, and gallery layouts are good examples. For that work, compare laser levels designed for visible cabinet alignment, but a tape-square-level kit remains the better starting point for occasional repairs.
Start with a cordless drill/driver
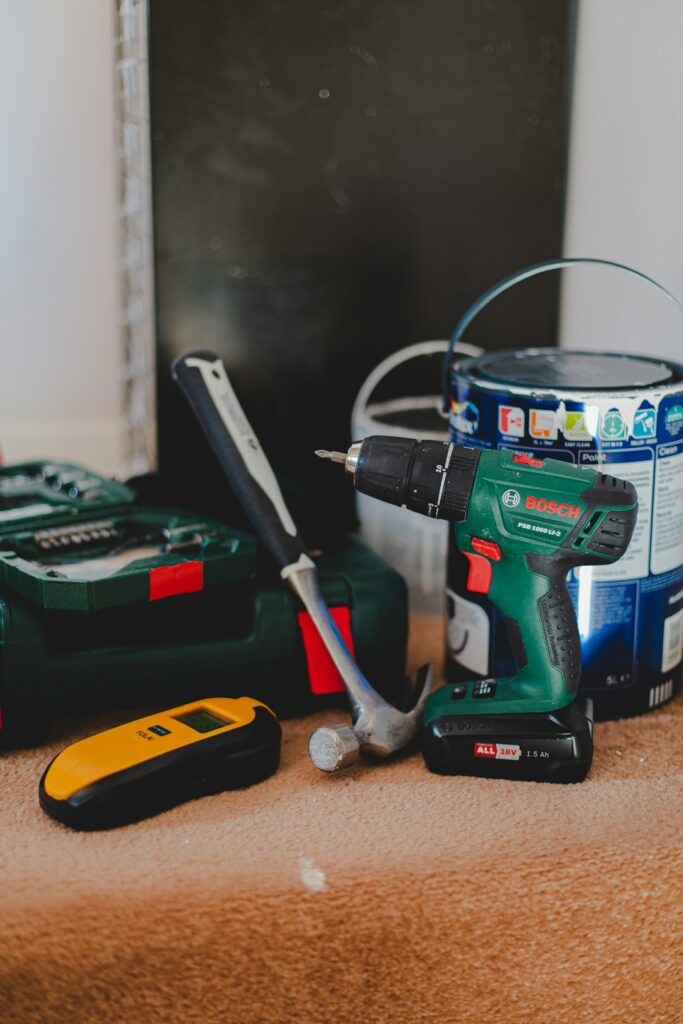
A cordless drill/driver is the most versatile first power tool for assembling furniture, hanging shelves, drilling pilot holes, and tackling routine repairs. A compact model is usually more useful than a heavier, high-powered machine that becomes tiring overhead.
Battery voltage matters less than the overall platform. Before buying, check whether the same battery fits tools likely to be added later; this guide to choosing a homeowner-friendly cordless brand explains what makes a system worth committing to. For general home use, prioritize a comfortable grip, manageable weight, variable speed, a two-speed gearbox, and an adjustable clutch.
Drilling removes material to create a hole, usually with the clutch set to drill mode. Driving turns screws; a low clutch setting helps prevent stripped heads and overdriven fasteners. The trigger should allow slow, controlled starts for both tasks.
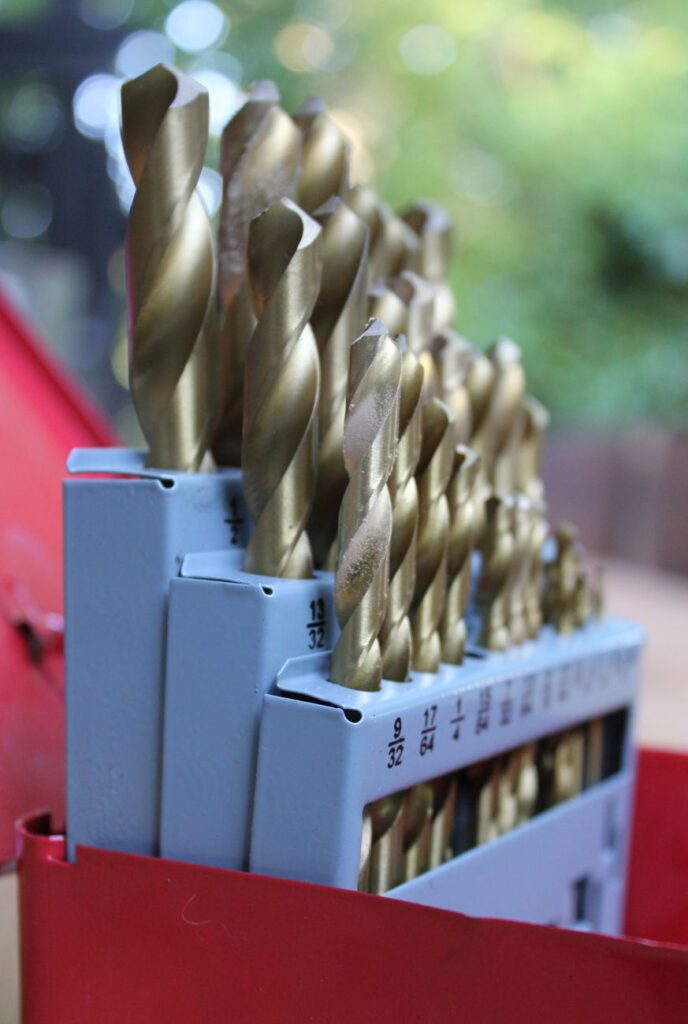
A small, dependable bit set is better than a case filled with weak duplicates:
- Brad-point bits for clean holes in wood
- High-speed steel twist bits for wood, plastic, and light metal
- Phillips, Pozidriv, slotted, Torx, and hex driver bits
- Masonry bits for block or brick, selected with care for clean drilling in brickwork
Safety glasses and a few spare bits complete the starter setup.
Add cutting tools as projects demand
A utility knife and a small handsaw handle many early repairs without adding noise, dust, or storage demands. A jigsaw is a sensible next step for curves, notches, and occasional sheet cuts.
When powered saws earn their space
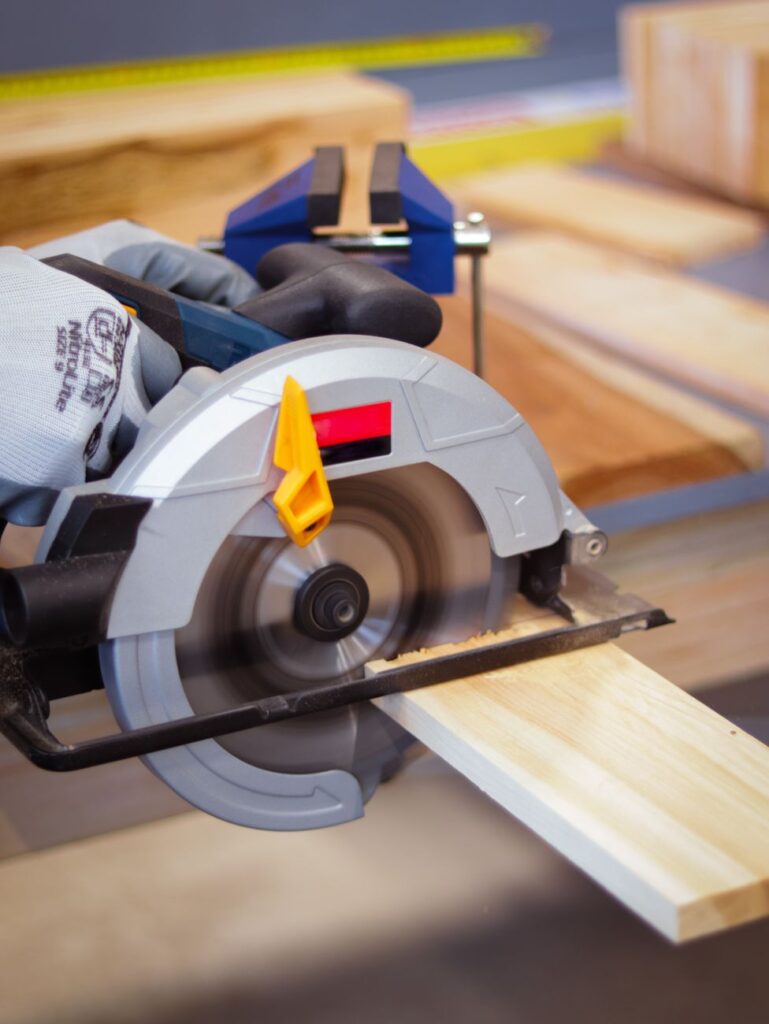
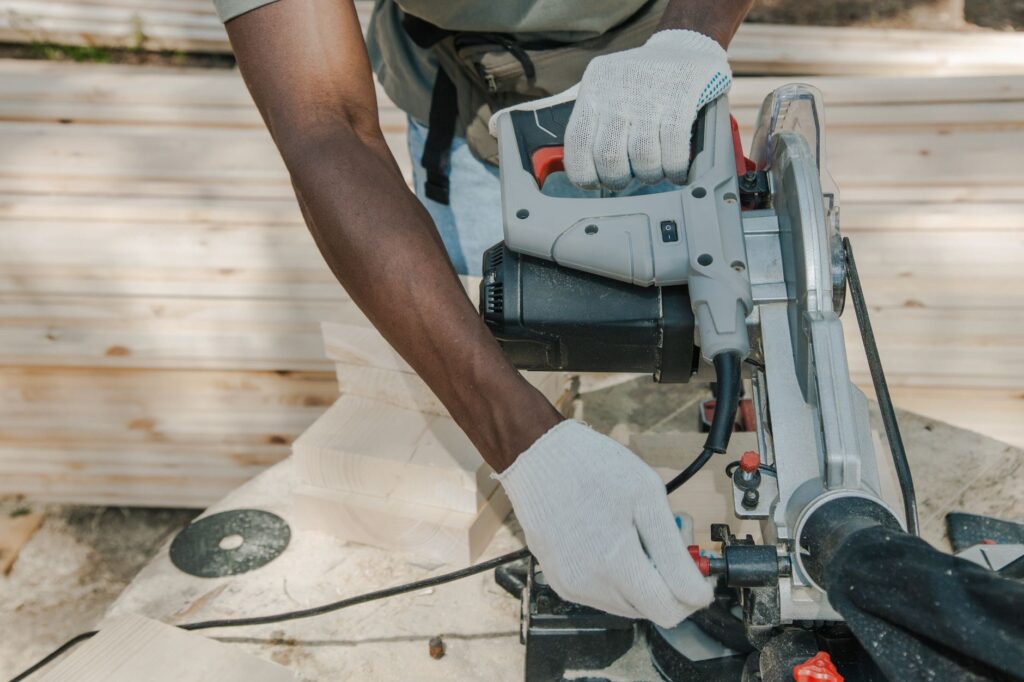
Repeated straight cuts may justify a circular saw; repeated crosscuts at consistent angles favor a miter saw. The choice between a circular saw and a miter saw comes down to working style:
- Circular saw: portable and versatile for sheet goods, framing lumber, and long cuts with a guide.
- Miter saw: faster and more repeatable for trim, boards, and matching angled cuts, but bulky and less flexible.
Blade selection matters as much as the saw. Coarse blades cut framing lumber quickly, while higher tooth counts generally leave cleaner edges in plywood or trim. The blade must also suit the material and saw specifications.
Before cutting, mark the waste side, account for blade width, and support both the workpiece and offcut without trapping the blade. Keep guards functional and hands clear. Learning to reduce circular-saw kickback before a cut is essential before speed becomes the priority.
Power and dust control matter
A corded tool only performs as well as its power supply. An undersized or excessively long extension cord can cause voltage drop, weak starts, and extra motor heat. Cord selection should account for tool amperage and total distance; longer runs generally require thicker conductors—a lower AWG number—as detailed in this guide to safe extension-cord sizing.
High-draw tools, dust extractors, and heaters should not crowd one circuit. Startup surges can trip breakers even when the combined running load appears acceptable. Grounded outlets, intact plugs, and the electrical requirements in each tool manual provide the safest baseline.
Match collection to the dust
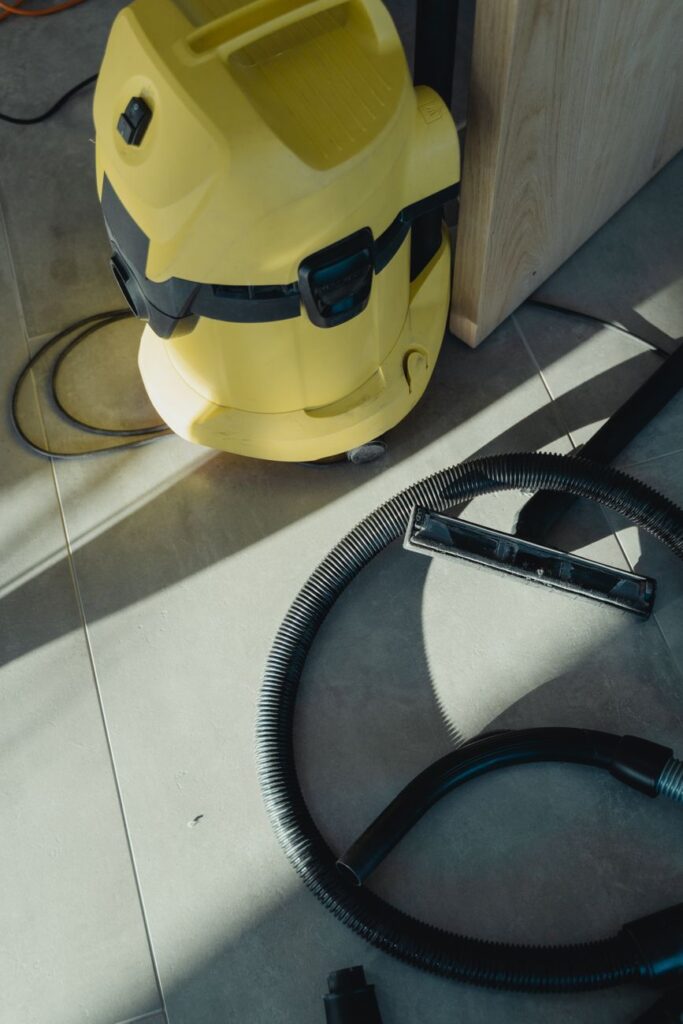
Effective extraction keeps cut lines visible, limits dust buildup around motors, and reduces cleanup. A household vacuum is not a universal substitute: fine sawdust or masonry dust can clog ordinary filters quickly, while restrictive hoses reduce airflow. A properly matched shop vacuum should have suitable filtration, enough airflow, and a hose that fits the tool without excessive adapters.
Short, smooth hoses preserve suction better than long, narrow ones. Dust bags or separators help protect filters, but sparks, hot debris, and hazardous dust require equipment specifically approved for those materials.
Make safety part of the toolkit
A capable setup includes more than tools and batteries. Safety glasses belong within easy reach, while hearing protection is appropriate for loud power tools. Dusty cutting and sanding may also require suitable respiratory protection and effective extraction; equipment should match the material and hazard.
Before each use, check for:
- Cracked housings, loose handles, or damaged guards
- Frayed cords, bent plugs, or leaking batteries
- Chipped blades, dull bits, and incorrectly fitted accessories
- Missing clamps, fences, or other required supports
Secure workholding is equally important. A small bench vise and a few clamps prevent material from shifting, freeing both hands to control the tool. Scrap wood can serve as a protective clamping pad or a backing board when drilling.
Storage should make damage and missing parts obvious. A toolbox, wall rail, or labeled bins can keep sharp edges covered, batteries dry, and matching accessories together. Avoid leaving tools buried under loose hardware where cords, blades, and measuring edges can be damaged.
Routine maintenance is usually simple: remove dust, wipe metal surfaces dry, lubricate hinges or jaws as directed, sharpen or replace worn cutters, and recharge batteries before long storage. Manufacturer instructions should determine any tool-specific servicing.
Do not wear gloves near exposed rotating machinery when entanglement is possible. Drill presses, lathes, grinders, and similar tools can catch fabric and pull a hand inward. Tie back long hair, remove jewelry, and secure loose clothing before starting.
-
Start with protection and hand tools
Safety glasses, hearing protection, a tape measure, screwdrivers, pliers, a utility knife, and a hammer handle many early repairs without taking over the storage area.
-
Add a drill setup
Choose a drill/driver, suitable bits, and a battery platform that can support likely future tools. A spare battery matters more when projects run longer.
-
Let the next project choose the upgrade
Add a square or level for layout, a saw for repeated cuts, or a vacuum for dusty work. Material type should determine blades, bits, and abrasives.
-
Check the complete setup
Before buying, confirm accessory fit, battery compatibility, storage space, dust-port size, and any required clamps or guides.
-
Rent specialized equipment first
Occasional jobs may justify renting a large saw, demolition tool, or floor-care machine. A trial also reveals whether ownership would be useful or merely bulky.
Build around real work
A capable beginner toolkit grows in layers rather than arriving in one oversized case. Buy for recurring jobs, match accessories to the material, and keep safety and storage in the decision. Renting rarely used equipment preserves both space and flexibility.